Explore AppBar Widget in Flutter


Explore AppBar Widget in Flutter
A tutorial to help you understand AppBar Widget in flutter


AppBar Widget with Title
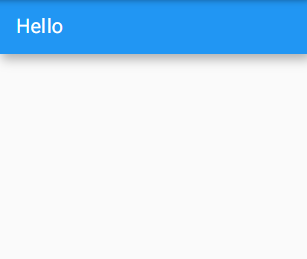
AppBar(
     title:Text("Hello")
)</span>
The Output is-


Here we create a simple appbar with a title.
How to change background color of the AppBar
To change the background color of the AppBar we use the backgroundColor property
AppBar(title: Text("Hello"),
        backgroundColor: Colors.red
)</span>
The Output is-

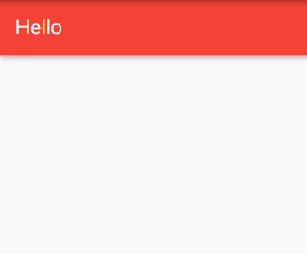
see color is now red
Howto change the elevation of AppBar
It is the z-coordinate at which to place this app bar relative to its parent.
AppBar(title: Text("Hello"),
       elevation: 8.0
)</span>
The Output is-

You can see a shadow beneth the AppBar.
AppBar with List of Actions
These are those widget which displays after the title of the AppBar
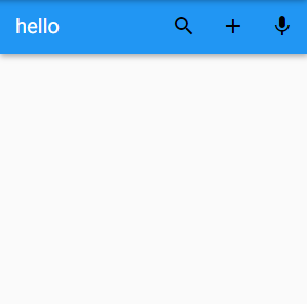
AppBar(title: Text(“hello”), actions: [
 IconButton(icon: Icon(Icons.search), onPressed: () {}),
 IconButton(icon: Icon(Icons.add), onPressed: () {}),
 IconButton(icon: Icon(Icons.mic), onPressed: () {})
])</span>
The Output is-


In the actions property we can define widgets that can also have functionality.
How to change the theme of Action Icons
We can do this as-
AppBar(
    title: Text("hello"),
    actions: [
      IconButton(icon: Icon(Icons.search), onPressed: () {}),
      IconButton(icon: Icon(Icons.add), onPressed: () {}),
      IconButton(icon: Icon(Icons.mic), onPressed: () {})
    ],
    actionsIconTheme: IconThemeData(color: Colors.black))</span>
The output is-

You can see that the color of Action icon is changed.
NOTE: It will only change the color of action Icons not the leading Icon.
We can aslo change the Opacity of the Icons
AppBar(
    title: Text("hello"),
    actions: [
      IconButton(icon: Icon(Icons.search), onPressed: () {}),
      IconButton(icon: Icon(Icons.add), onPressed: () {}),
      IconButton(icon: Icon(Icons.mic), onPressed: () {})
    ],
    actionsIconTheme: IconThemeData(color: Colors.black, opacity: 0.3))</span>
The Output is-


Opacity value lies in between 0 and 1.
How to Center the Title in AppBar
AppBar(
    title: Text("Hello"),
    backgroundColor: Colors.red,
    centerTitle: true
)</span>
The Output is-

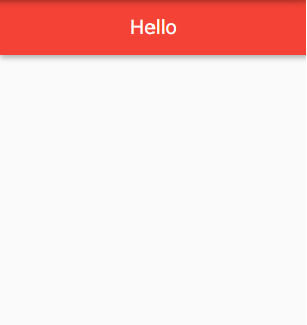
These property will automatically center the Title of the AppBar.
How to add a Leading Icon in AppBar
To add a leading icon we can simply use the leading property of the AppBar that expect a widget.
AppBar(
  title: Text("Hello"),
  leading: IconButton(icon: Icon(Icons.menu), onPressed: () {}),
)</span>
The Output is-


Now you can see that a leading menu Icon is appeared.
How to set Theme for all Icons in the AppBar
To set Theme for all Icons in the AppBar we use the iconTheme property.
Note: This will include both leading and actions icons.
AppBar(
  title: Text("Hello"),
  leading: IconButton(icon: Icon(Icons.menu), onPressed: () {}),
  actions: [
    IconButton(icon: Icon(Icons.search), onPressed: () {}),
    IconButton(icon: Icon(Icons.add), onPressed: () {}),
    IconButton(icon: Icon(Icons.mic), onPressed: () {})
  ],
  iconTheme: IconThemeData(color: Colors.orange, opacity: 1.0),
)</span>
The Output is-


As you can see the color of all Icons is changed because we use icon theme property.
How to add a Subtitle In the AppBar
To add a Subtle in the AppBar we make use of a Column Widget like that.
AppBar(
        title: Center(
          child: Column(
            crossAxisAlignment: CrossAxisAlignment.center,
            mainAxisSize: MainAxisSize.max,
            mainAxisAlignment: MainAxisAlignment.center,
            children: [
              Text(
                "Title",
                style: TextStyle(fontSize: 18.0),
              ),
              Text(
                "subtitle",
                style: TextStyle(fontSize: 14.0),
              ),
            ],
          ),
        ),
      ),</span>
The Output is-


We make use of a Column widget and wrap it inside a Center widget to center the text.
How to make AppBar transparent
AppBar(
        backgroundColor: Colors.transparent,
        title: Text("Transparent AppBar"),
        actions: [
          IconButton(
            icon: Icon(
              Icons.search,
            ),
            onPressed: () {},
          )
        ],
      )</span>
The Output is-

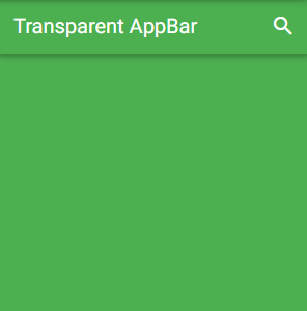
Now the AppBar is transparent so it shows green which is the background color of my Scaffold.